Sunnyboy Inverter Error K1 Open
 Is your SMA Sunnyboy solar inverter showing an error K1 Open message? If so your solar power system isn’t working, so you’ve done the right thing by coming here and doing something about it.
Error K1 Open – What does it mean?
The Error K1 Open message on an SMA Sunnyboy inverter is referring to the grid relay inside the inverter, relay K1. When the inverter is off or there is no sunlight available it is completely normal for the K1 relay to be open, however when solar power is available the K1 relay will try to close so it can send power from the inverter into the grid. If the K1 relay isn’t closing when the sun is out your system won’t work and the inverter will throw this error. The Error K1 Open is an internal fault with your inverter.
“Error K1 Open” – How do you fix it?
SMA Sunnyboy solar inverters are generally very reliable, so hopefully you can get your inverter back in action. The first thing we recommend with an issue like this is to try a full reboot of your system by completing the following in order:
- Turn OFF the solar supply main switch (or inverter AC isolator if present).
- Turn OFF the PV array DC isolator.
- Wait for the inverter screen to go completely blank and the red fault light to turn off.
- Turn ON the PV array DC isolator.
- Turn ON the solar supply main switch (or inverter AC isolator if present).
- Wait a few minutes while the inverter boots back up.
If a reboot didn’t help…
If after rebooting the inverter you see the same error message, unfortunately, it sounds like you have a permanent error which is going to require professional help. The Error K1 Open fault will be covered under the SMA inverter warranty however if you are seeing this issue I’m guessing the inverter is outside the standard manufacturer 5 year warranty. The SMA Sunnyboy SB1100, SB1700 and SB25000 were manufactured more than 5 years ago now so it’s highly unlikely your warranty extended longer than that.
You can potentially have the internal issue with your inverter repaired however this will be at a substantial cost and still leave you with an inverter that isn’t covered by warranty. For this reason we highly recommend replacing the faulty inverter with a new quality unit backed by a new manufacturers warranty. If you are in South East QLD somewhere near the Gold Coast or Brisbane area we can help.
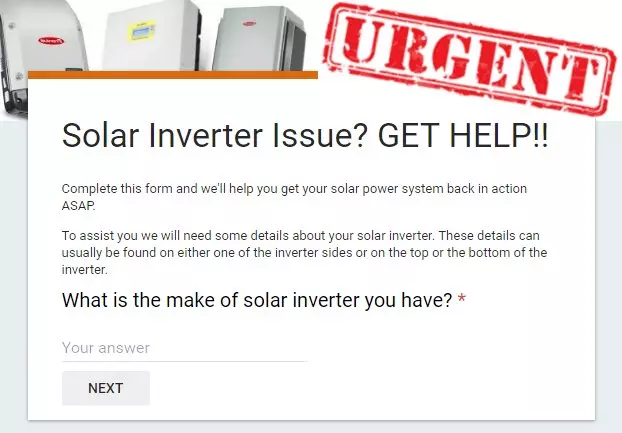
For further advice please complete the form above under the URGENT heading and we’ll assist you further.

Got A Question About Solar Power? Click Here For Answers!
- Can you add more solar panels to your solar power system?
- How much power can you expect from your solar power system?
- Do you know how to read your Energex solar power meter?
- Could you be saving hundreds of $$ on your pool power costs?
- How to make the most of the 44c feed in tariff
- How to make the most out of a low feed in tariff
The post Sunnyboy Inverter Error K1 Open appeared first on Gold Coast Solar Power Solutions.
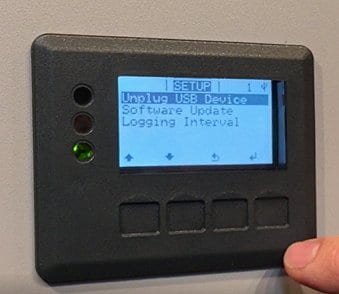 There are a number of different reasons that you would perform a Fronius USB update as follows:


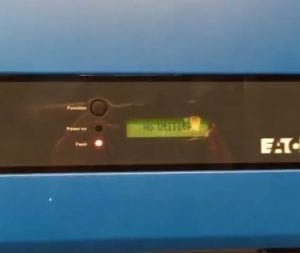 As the name would suggest, the Eaton solar inverter no utility error message is a sign that your solar inverter is not working.
 When you see have Clenergy SPH Solar Inverter Grid V Mismatch error code, the inverter is telling you that it has not been able to match the voltages properly.

 If you have an SEA Orion Solar Inverter Relay Failure message on the inverter screen, the inverter is telling you there is a fault with a relay inside the inverter.
  The financial incentive for solar power systems is based on STCs which stands for Small-scale Technology Certificates. These STC’s can be created when a solar power system using eligible solar panels and solar inverters are installed by accredited solar installers. The number of STC’s created is determined by the size of the solar power system but it is also affected by which year it is installed in.

 The Fronius STATE 421 error message is an occasional problem that can occur with the Fronius IG series of solar inverters. According to Fronius, the STATE 421 message means the inverter has detected an internal hardware sequence collision.
 If your Xantrex solar inverter is displaying a Ground Fault Reset System message it’s a clear sign your solar power system isn’t working. There are two ways to tell you have this error:
 A Solar King solar inverter relay failure message occurs when an internal relay inside the inverter fails to operate correctly. There are two signs that you have this issue:
 With a solar power system it’s very important that the solar panels match the electrical characteristics of the solar inverter that they’re connected to. One of the electrical characteristics that’s very important is the maximum voltage the solar inverter can handle, as if the voltage supplied from the solar panels is too high or too low the inverter won’t work properly and could even be irreparably damaged.
 The Motech Solco solar inverter relay failure issue can occur in the PVMate range of Motech inverters and indicates an internal issue with a relay inside the inverter. There are two signs that you have this issue:
 Do you have a CMS10000 solar inverter ERR GRID message? If you’re seeing an ERR GRID message on your CMS10000 Solar Inverter it’s letting you know that it’s detected an issue with the power from the street. If at the time this happened you had a blackout or the solar supply main switch is turned off then the ERR GRID message would be normal. Unfortunately however if your CMS10000 is coming up with ERR GRID intermittently or when all the switches are ON and you have power from the street you have an issue.
 Do you have an issue with a Solco Motech PVMate Low Insolation message on your inverter screen? If so first off please understand that the Low Insolation message is completely normal if there isn’t much sunlight, such as at dawn and dusk.
  If you’re getting a Geoprotek Solar Inverter blank display it’s a sign that your solar inverter isn’t detecting any power from the solar panels. When a Geoprotek solar inverter screen is blank it basically means that the inverter thinks that it’s night time, it’s in sleep mode because it hasn’t detected any power from the solar panels. Obviously if the suns out your inverter shouldn’t be asleep, so let’s see if we can wake it up!
 The Fronius STATE 514 error message is a problem that can occur with the Fronius IG series (IG40 or IG60) of solar inverters. According to Fronius, the STATE 514 message means the inverter has detected an issue with one of the power stacks inside the inverter.
 The Geoprotek low power output problem is something that we’ve occasionally seen with Geoprotek solar inverters – the inverter looks like it’s all working correctly however the amount of power being produced is way less than it should be.